
The movie poster for this film on which the kit is based.
It goes without saying that I am a huge Ray Harryhausen fan as the number of pages displaying his work on this site will attest. One of his lesser efforts (IMHO) was the work he did on the 1964 film “First Men In The Moon” starring Edward Judd, Lionel Jeffries and Martha Hyer.
I hesitate to call this movie “science fiction” as it is often referred since most of its aspects reside more in the world of fantasy than science. One example of the fantastic elements would be the heroes strolling about on the Moon's surface in deep sea diving suits without any gloves on which would render the suits (even if they did work) completely useless. Additionally, there are number of plot holes, the most glaring is the discovery of the British flag planted by Cavore in 1899 by the “first” United Nation's moon landing literally meters from the plot's first touchdown!
But I digress. I purchased this kit on eBay for a bit less than it sells for at Monsters In Motion. The kit is of fair quality in the resin casting and has about thirty parts, most of which are the railroad car bumpers that adorn the outside surface like the knobs on a Corona virus. The interior is quite detailed although I found a number of voids in the 'wood' trim work. The instructions were poor quality prints that faded out here and there making the building & painting a lot harder than they had to be. Fortunately, I found a number photographs of the completed kit on the Google machine which helped out quite a bit. I also have the DVD of this film that I used as a guide in determining the color palette of the sphere, both inside and out.
The first step was to wash all the parts with soap and warm water to get rid of any casting release agents followed by a coat of light gray primer. The primer coat is important since this resin had very poor adhesion qualities with acrylic paint though solvent based enamels adhered just fine. I decided to paint the exterior first using a dark hammered bronze from a rattle can followed by a nice steel enamel from Model Master (out of production unfortunately) for the superstructure. I had seen versions of this kit that had the main body panels in gold which is technically incorrect to the story. Once the two colors had dried, I came back with a full body wash of diluted black. This helped kill the sheen of the metallic layers without losing the illusion that they were metal.
Next, I painted each rivet with a dab of rusty wash to suggest age and wear and tear of the elements. If you watch the film, the sphere's exterior is quite filthy compared to the lush Victorian interior. Once dry, I sealed the whole thing with a couple layers of Dullcoat.
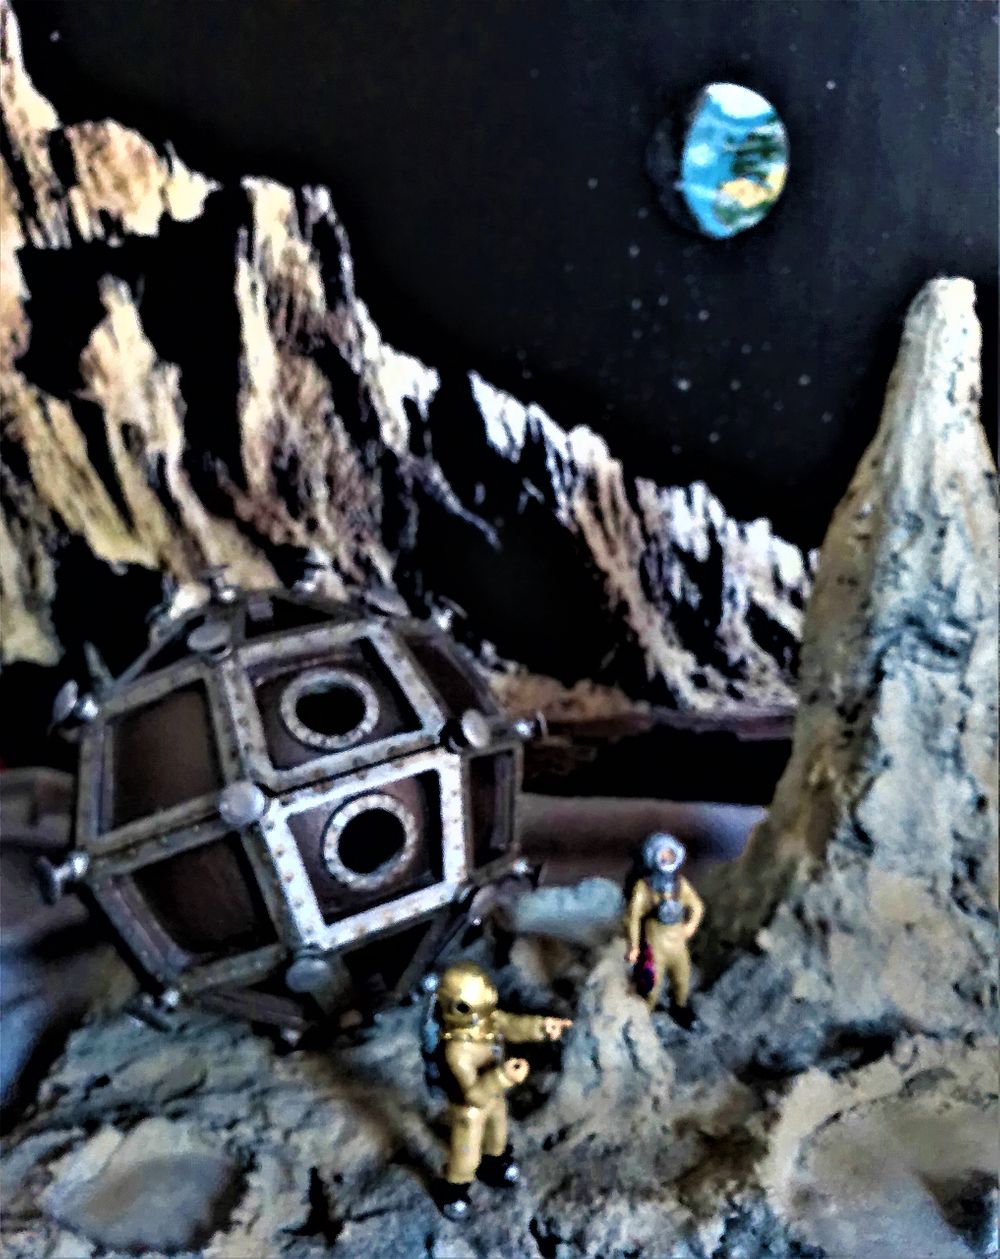

Photo showing the sphere opened without the rope chairs installed.
When starting the interior, I decided to do the wood work first. I used an application of dark brown followed by random streaks of burnt umber sealed with a clear gloss. I did the plush tufted panels in a dark green and the flooring in a medium red trimmed with brass. There were three seats that were to be placed beneath the portholes which I painted in the same manner as the walls. The eight internal portholes were done in brass. The kit provided about a dozen pre-cut pieces of round acetate for the porthole glass but I decided to hold off installing them until the last step of construction.
In the kit was a small ball of string provided to make the two rope chairs as seen in the film. I ended up using the string as hand holds around the portholes which I secured with common pins bent & painted to look like wall brackets.
I decided to hinge the two halves of the sphere together so it could be opened safely. I found some so-called “cigar box” hinges on eBay and mounted them with brass nails on the outside of the sphere that had the two control panels.
I decided to try weaving the chairs out of the string provided but I felt it was too much out of scale for the scene so I purchased some white wedding veil on eBay and cut it to size as a substitute. There were four resin disks that acted as the seats which I secured with AC glue to the wedding veil. I fabricated four tie downs for the two rope chairs from common pins bent into a loop. I then drilled pinholes in the four cleats mounted of the floor and ceiling of the sphere's interior, into which I AC'ed the four tie downs. I used 1mm white stretchy string on either end of the rope chairs and secured the other with hook I made from common pins which engaged the tie downs I mentioned earlier. As I hoped, when the sphere's hinged halves were opened, I had enough give in the chair assemblies to span between each section.
The pre-cut acetate disks that were provided for the portholes were 1/8 inch too large for the openings. As it turned out, a US nickel was almost the right size so I used it as a pattern to achieve the correct diameter which involved a lot of filing to get the disks to fit. Fortunately, the manufacturer provided twice as many disks as was needed which worked out since I wrecked a few of them during the fitting process.
A curious omission to the kit (in my opinion) was that only one figure was provided for the scene which seemed pretty cheap to me. Depending on how you painted it, it would be either Cavor or Bedford. I ended up finding some very nice deep sea diver figures on Thingaverse, a pair of which I printed out on my resin printer. The only real difference between the kit version and my prints was that they had two air tanks instead of just one. I ended up fabricating a pair of tanks (for the figure that came with the kit) with short pieces of plastic tubing, the ends of which I filled with Liquetex modeling paste so I could carve into the shape of domed tank ends. I made the air hoses out of bass guitar strings. Though my 3D prints are slightly bulkier than the kit's version, I don't think it is too objectionable. I painted the two male figures based on the kit's instructions. One of the diver prints I downloaded was kneeling so I painted it as Cavor about to plant the British flag, claiming the Moon for England. I made a small flag out of a piece of a paper which I stripped with red and blue to match the Union Jack. After I attached it to a wire brad, I crumpled it up and placed it on one of the shortest spire as was the case in the film.
I also found a nice Victorian woman figure on Thingaverse which I printed out for the Kate character. I built up her hair with epoxy resin and painted Kate based on screenshots from the film.
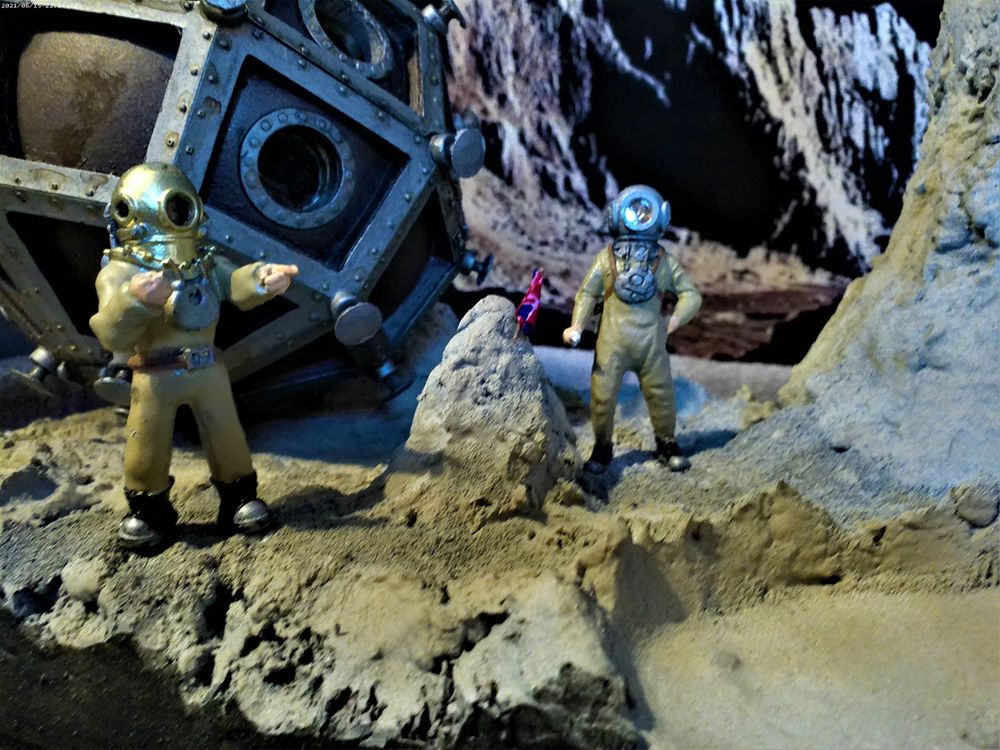
Cavor and Bedford on the Moon's surface shortly after Cavor planted the flag for Great Britain.
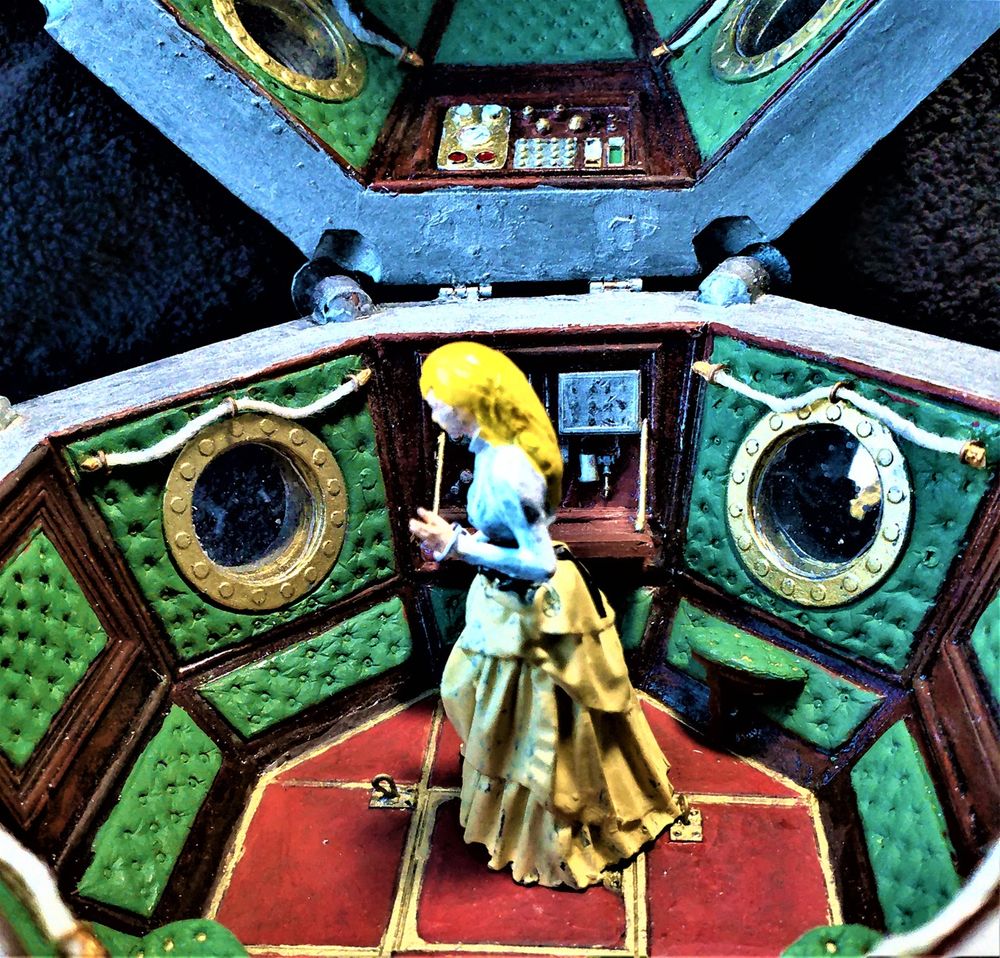
Kate patiently waiting for the explorers to return.

This is the moonscape that I downloaded for my backdrop.
Though the base that came with the kit was passable, I wanted something a bit more theatrical. For the base, I used a 10” x 16” x 1/4” piece of plywood onto which I glue a 1” thick sheet of insulation foam. I gouged out three circles of varying sizes as craters and I made a rocky spire on the right side out of a plastic soda bottle I coated with Sculpta-mold. I made smaller spire on the left side which would act as a support for the Cavor sphere when it was opened. I roughed up the rest of the insulation board and randomly coated the rest of the surface with more Sculpt-mold. While it was still damp, I dusted it with plaster of Paris over the level areas. To finish, I made up a soupy mixture of plaster and poured it into each crater to give a nice smooth surface.
After I let the base cure for a couple days, I sealed the exposed foam areas with Mod Podge to prevent them from melting when I painted the entire surface with a medium gray primer from a rattle can. I followed this with a misting of flat white from a rattle can. Once both layers had dried, I hit it with a dusting of khaki color from a rattle can to highlight the rough terrain.
For the background scene, I went on the Goggle machine and downloaded a couple images of moonscapes that I found there. When I decided on which one looked the best for my application, I uploaded it to the Vistaprint web site and ordered a 18" x 36" banner which cost me about 12 bucks. After it arrived in about a week's time, I painted a planet Earth on a round piece of paper and glued it to the banner and then set it up in my 'studio' for a photo shoot with the diorama.
I have mixed feelings about this kit so I would be hard pressed to recommend it for the reasons previously stated. However, if you're a real Ray Harryhausen nut like I am, it wouldn't go wrong adding this to your model collection. 1/24/22
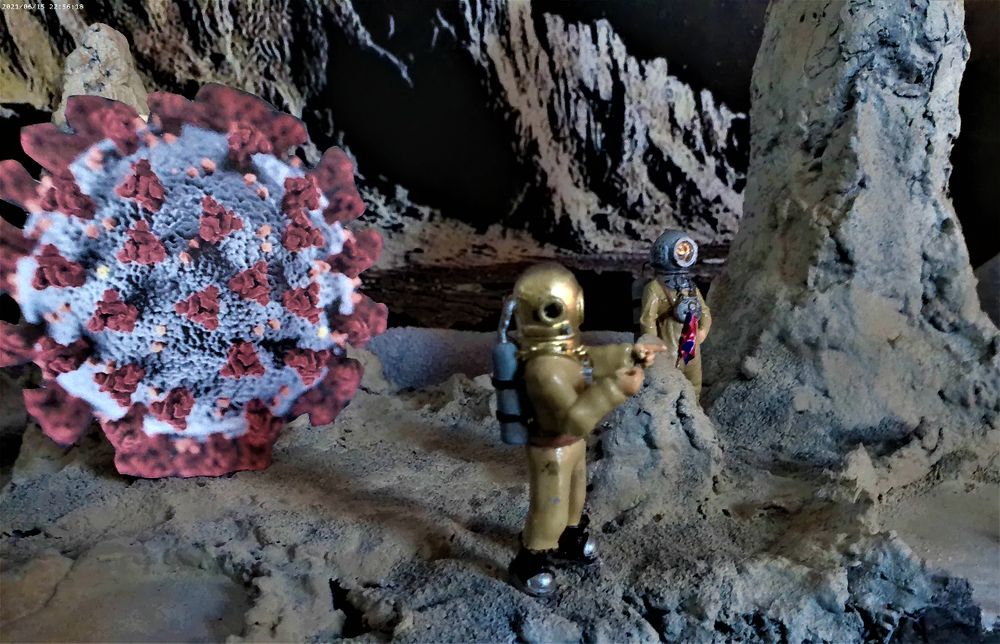
"I know Cavor had a bad cold but this is ridiculous!"
Comments
Louella Couto
26.01.2022 16:46
I was absolutely intrigued and did not stop reading until the end!
Bob H
24.01.2022 23:24
As I said yesterday Vundabar!!!!!!!!!
Latest comments
18.07 | 20:43
Speechless, And I am really speechless.
Incredible work. I am glad we could provide you with a grail
11.07 | 11:41
Great job down to the last detail!
10.07 | 16:36
Thank you, Addis, I estimate it took me around 100 hours to complete.
10.07 | 12:24
Terrific work...must've taken quite a while for you to complete...very good detail!!
Share this page